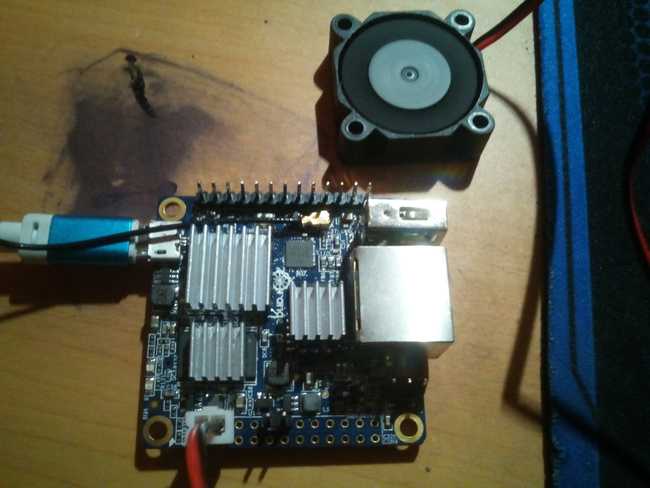
The fan and heatsink is here, I ordered 3x3 cm fan that will fit the side of the case perfectly. I ordered a pack of 3 aluminium heatsinks for Raspberry Pi 3, but checking the sizes, it will be a somewhat fit. I also ordered male header and a test PCB for practicing soldering.
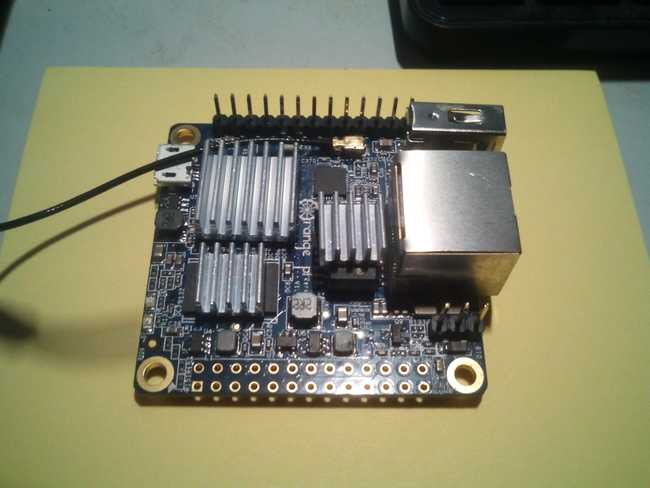
The heatsink fit perfectly on the CPU chip but less so on the RAM chip. I figured to stick the last heatsink to the pulse decoder chip(?) but I don't know how much will that affect the temp. The fan will be attached to the side of the case, so I need to drill a hole for the mounting screws. Alternatively, I can stick double tape or glue it to the case, but I still need to drill a hole for the air flow anyway.
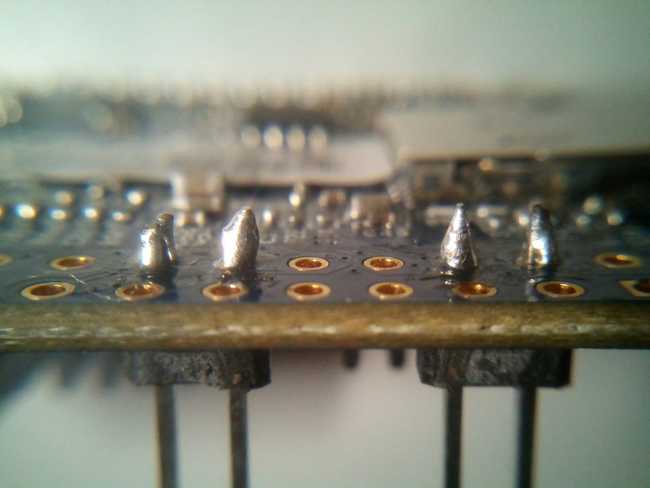
Next I need to solder headers to OPi GPIO. It will be pin 4 and 6 for the fan, and 12 and 14 for the reset switch. I didn't solder all of it since there will be no clearance for the fan screw if I solder the outer pins, and it's a hassle anyway.

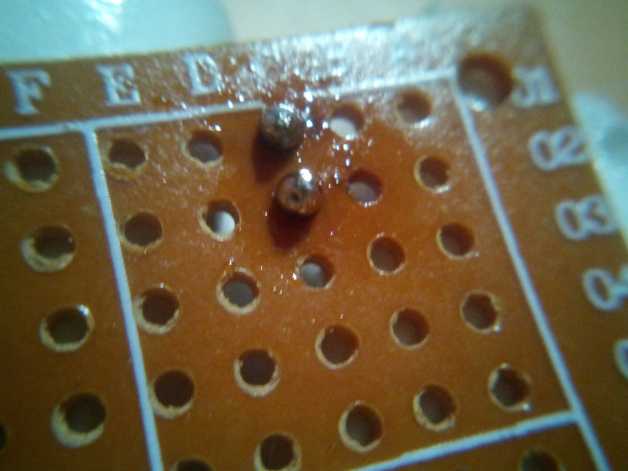
My first try soldering, the joint came up bulbous. After some practicing I realized, you want to let the "watery part" which is the flux, to fully cover the soldering area first, then the tin will be attracted to the flux and covers it. After some practice, I move on to the real pins.


Now to test the cooling performance, I turn it on and watch the reading from armbianmonitor.
No lag from high CPU load (especially on 3D emulation), but Kodi still can't play video over 480p, so it's because of CPU limitation not the heat. The airflow from the fan was better than I thought from its size. It also vibrates louder, so taping it to the case is out of the option. The fan will be more stable if it's screwed firmly into the case. Next is testing the switch and writing the reset script.


